Nightly Stuttgart: there ARE stars!
Freezing cold winter nights with a clear sky: I guess, most people hurry back to their warm homes. But not, if you just read how to take pictures of the night sky and try to find out, whether you succeed to bring out those gazillions of stars, too.
There’s quite plenty of information out on the web how to do night sky map pictures, ranging from “mount your camera on a tripod and experiment” up to “use this special software to combine 30 shots to get amazing pictures”. But all of them provide you with good information, so you can draw your own conclusions.

Living downtown Stuttgart, I knew, that I would have to deal with light pollution of the sky, but it was worth a try anyway. Good thing is, that I have access to a roof above any light sources. I mounted my camera on a sturdy tripod and did not extend the feet: the higher you get, the more the danger of vibration (remote shutter control and mirror lockup are important, too). I covered the viewfinder with a black clip, so no light would be transmitted from there to the chip (with exposure times up to 30 seconds that will affect your pictures!).
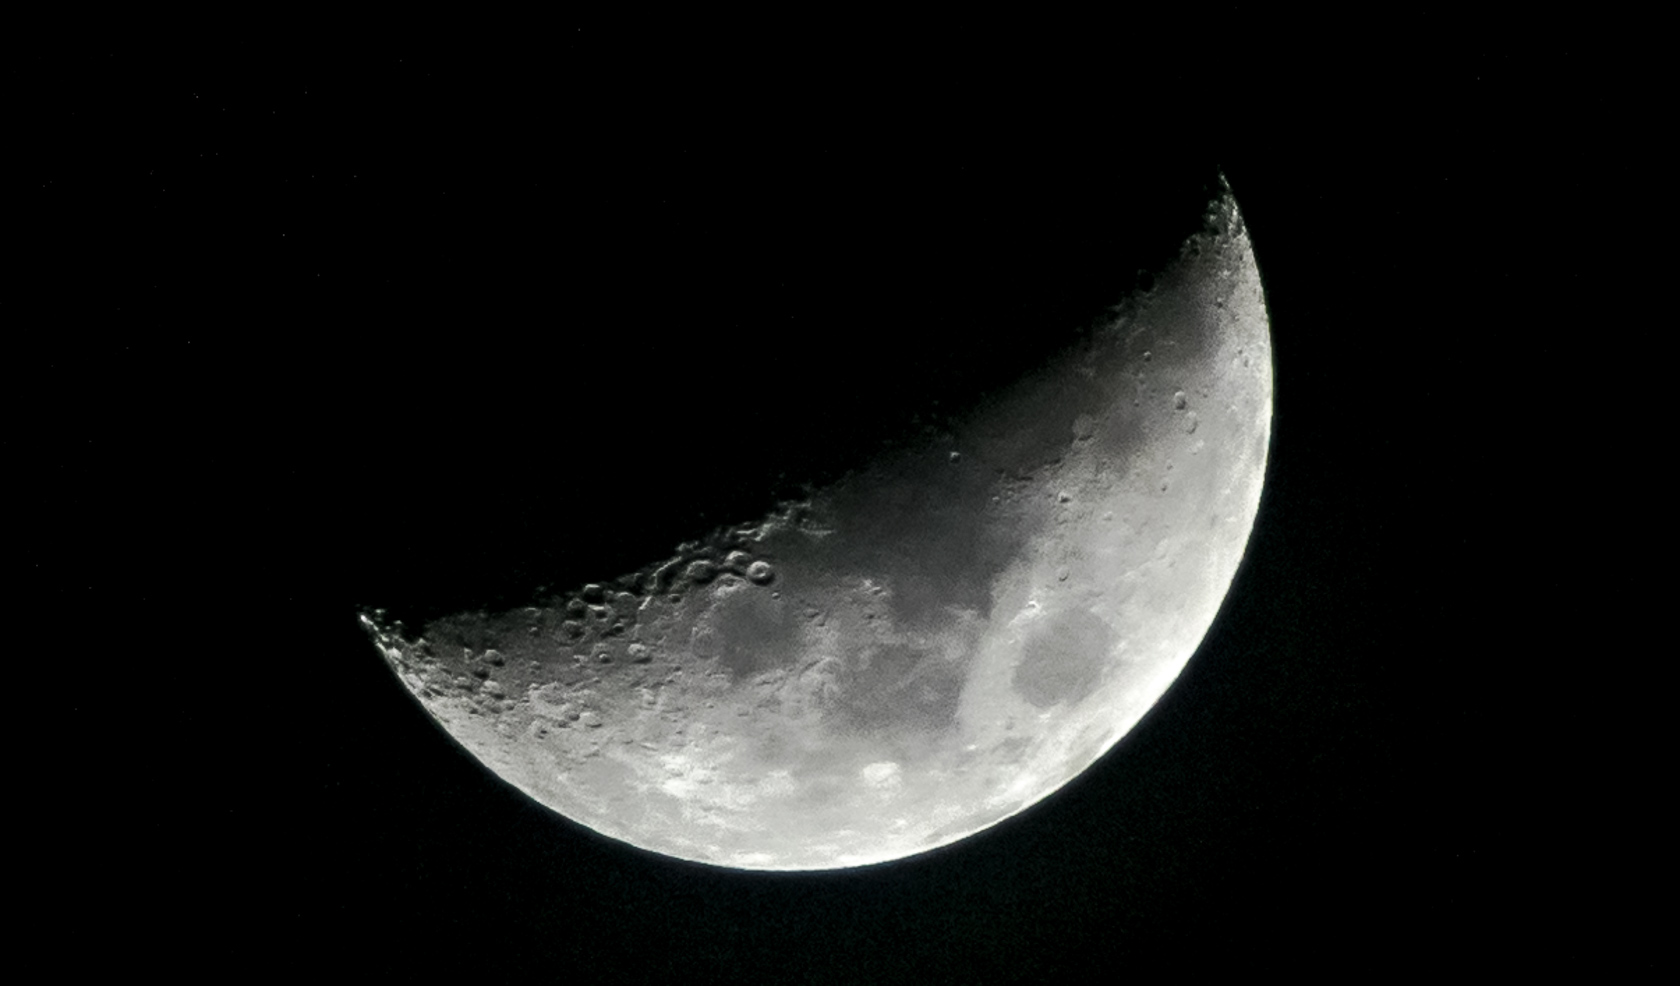
High ISO (and fast lenses) is an important factor, too, since you want exposure times “as short as possible” to avoid star streaks (yes, they are moving that fast!). With “short”, we are talking about a range of 10-30 seconds, depending on the lens you use. Rule of thumb is: exposure time = 300 : focal length for crop sensors, 500 : focal length for full frame sensors. So, with a 10mm lens, you would get 30 seconds exposure time on a crop sensor camera. I was experimenting with ISO 2000 and ISO 6400. Catching the moon is a totally different thing, though: you can go for ISO 100 and exposure time is between 1/50 to 1/200. You can even stop down to get into the “sweet spot” of your lenses sharpness. Spot metering or manually setting exposure strongly encouraged!
For the pictures below, I was using the Samyang 8mm Fisheye (for the panorama, the little world and one of the Markuskirche pictures – amazing sharpness), a borrowed Nikon 18-200 mm, a Nikon 18-140mm (TV-Tower) and a Nikon 70-300mm for the moon. For me personally, the 70-300mm is too soft and even a little “blurry”, when fully zooming in on the moon – this is enhanced, since you still need to crop the picture afterwards.

Focus is another issue with night sky pictures. You have to go manual. Good, if you got live-view – then you can “electronically” zoom in on the brightest star and adjust focus. In case you go for pictures of the moon, autofocus in live-view mode is actually pretty good – the different method on auto focussing in live view is better than the normal one. With my Nikon D5300, manually focusing in live view mode still is pretty annoying – there is this kind of delay in seeing any changes on the screen, so you never know, when you are spot on. Focus rings with small range are a problem, too…
So, during several nights, I spent a few hours on a freeeeeeezing cold roof and thought, I produced better results from day to day. It’s just about getting experience. The first pictures were completely unusable, then I had to do heavy editing in Lightroom with the next set and still had noisy pictures (you can see that in the “Karlshöhe” picture), but then, I was quite pleased with the later results. Nothing extraordinary, far from the amazing pictures, I saw in those tutorials – just something to start from and continue to improve. So now, I am waiting for the chance, to take pictures of the milky way during the summer….