Food photography: creating yummy looks
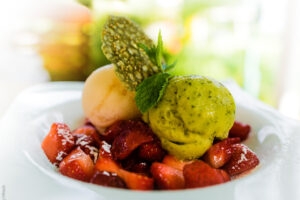
I love good food, and I love it even more, when it is presented in a nice way. Good chefs also do make an art of decorating and arranging their food (btw., did you know, that all decoration is edible and that you are expected to not leave it on your plate?). Sometimes, I was so taken by the beautiful presentation, by the mix of colors, texture and forms,  that I could not resist to take pictures. An iPhone is perfect for that, since you almost clandestinely are able to take a picture. The question is: is it rude, if you take pictures from a beautifully served dinner in a restaurant? Or would you just make some sort of “touristy” fool of yourself? At least, the latter only affects your personal pride 😉 . Anyway, most of the time, I cannot resist. I just want to share my joy.
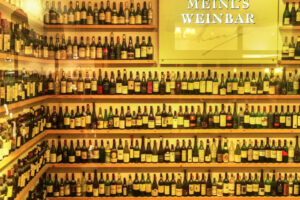
Technically, this poses some problems. First: you need to work with available light, which can be quite dim, since a restaurant for sure has no studio-bright lighting. But: it has atmospheric lighting, which can be a plus. Candles can give nice, reflective effects in wine-glasses, wide fixtures above the table can provide softbox-like lighting, and if you eat during daytime and sit close to a window,  streaming day- or even sunlight can result in glamorous effects.
Next step is editing. My personal experience was, that I really needed to do major adjustments not only in the basic exposure settings, but also in the whole color correction pallet – such as individual luminance and saturation for each color or the RGB tone curve. Also, the presence settings like clarity and vibrance and the sharpening tools do make a major difference. These are overall settings, that apply to the entire picture. Additionally applying these adjustments partially by using the adjustment brushes, you can bring out certain regions or ingredients of the dish even better. Really think of this editing process as being a chef composing a fine dish: it’s all about how you combine certain ingredients, how you prepare them, how you process them, how you combine them and how you arrange them.
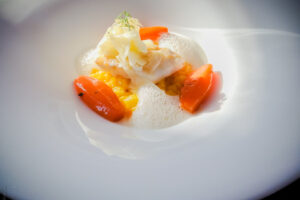
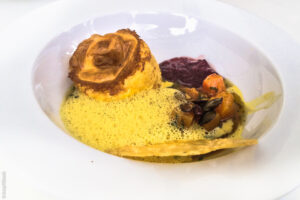
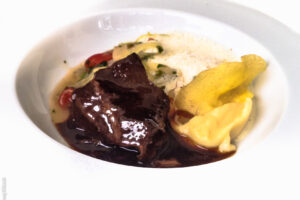
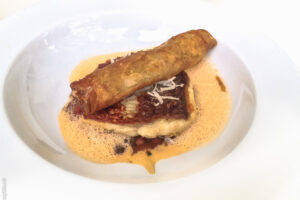
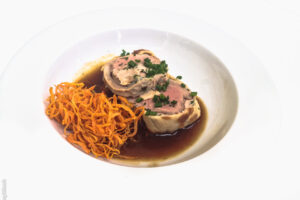
Talking about adjustment brushes in Lightroom: I have used these a lot to “mask” unwanted parts of the picture. In some of the below pictures, you will see a white plate being surrounded by a white background. These photos were taken in the open at a food-fest, the plates sitting on a small wooden counter. Since I wanted to get rid of that background, I used the adjustment brush, set it to “auto mask”, high density, high feather. By playing around with the settings for clarity, brigthness, contrast and exposure, you can quite easily “mask away” all background. I made the final touches by disabling the “auto mask”-option, using a very soft brush with lower density and that way could get rid of extremely hard or unclean edges. Using that technique, I achieved an effect like the dish was sitting on a white studio “wallpaper” background. Right below, I’ll provide you with some snapshots of the developing process:
I am in no way an experienced food photographer nor do I take those pictures in a specialized studio setup. I just have fun in taking pictures “on the go” and editing them with the means, the skills and the experience, I have achieved so far. The abovementioned steps are describing the way, I found for myself, and they might differ majorly from the approach, a pro would take. I hope, my results at least are a little bit mouth-watering…
- Restaurant: using the sunlight
-
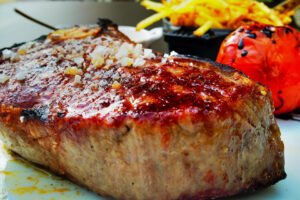
Restaurant: side-dishes as
"bokeh"-ed background
- Using available light at a Fireplace
-
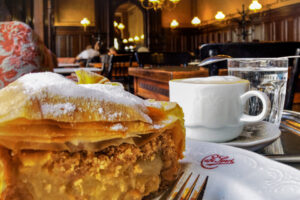
Coffeehouse in Vienna:
using given scenic background
- A burger-place can give you...
- ... some nice background for foodporn
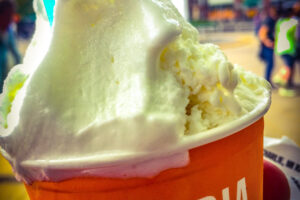
- Available light and icecram - nice combo
- Open up the aperture to blur the background
- Go close to the objects
- Or get wide and impressive
- Food fest: masking unwanted background
- Food fest: masking unwanted background
- Food fest: masking unwanted background
- Food fest: masking unwanted background
- Food fest: masking unwanted background


